3. Understanding Groups
The data that is gathered and put into the Widgets on the Dashboard is arranged in groups. These could be identified as one specific customer with their data forming one group and different divisions of that company being the subgroups. In this manner, the analyst can view different customers being supported since each customer is identified with a different group. This section identifies how the groups are set up and how to work with and maintain the groups.
3.1. Working with the Groups
The Groups Dashboard provides the information about the groups in a quick snapshot. This section identifies the Group Administration Dashboard.
3.1.1. Viewing the Groups Dashboard
In order to view the Dashboard for the Groups, follow these steps:
On the navigation panel, click on
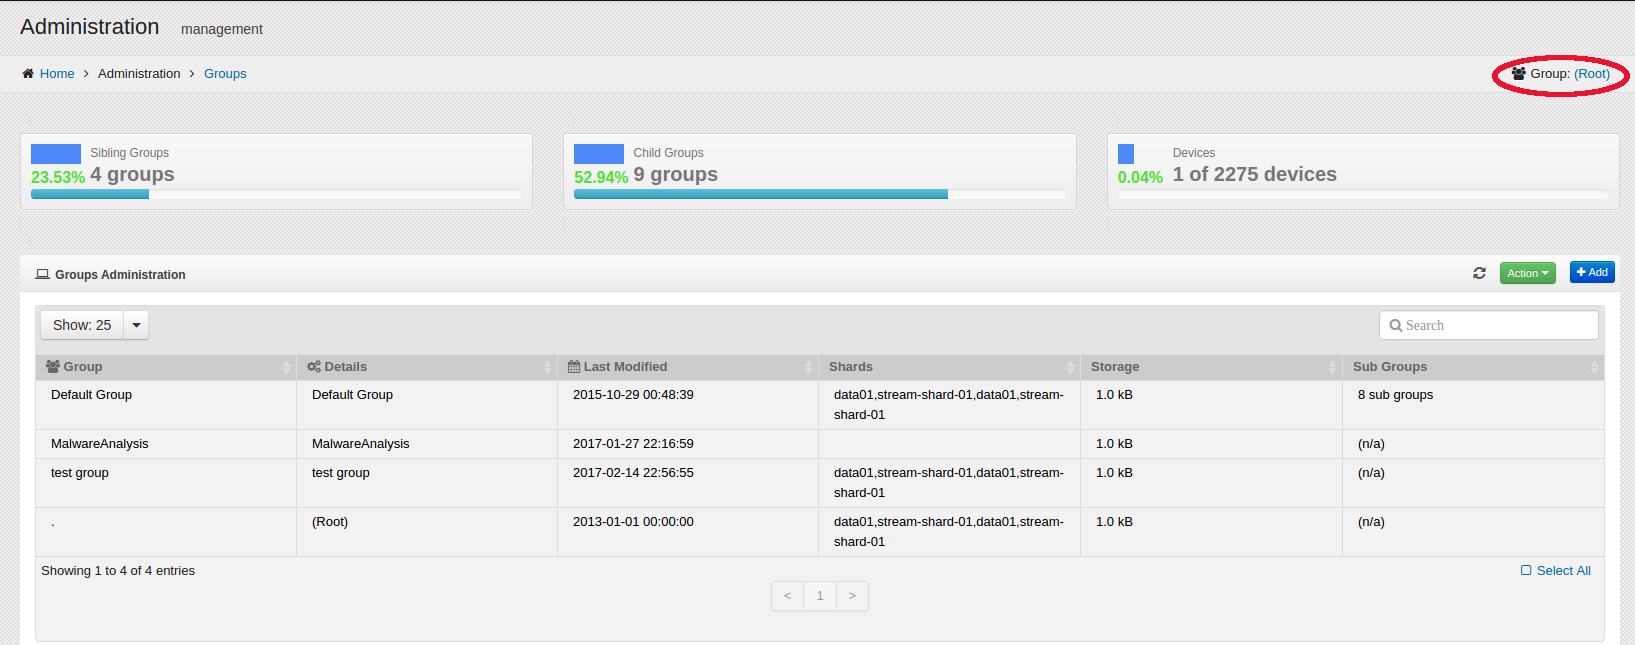
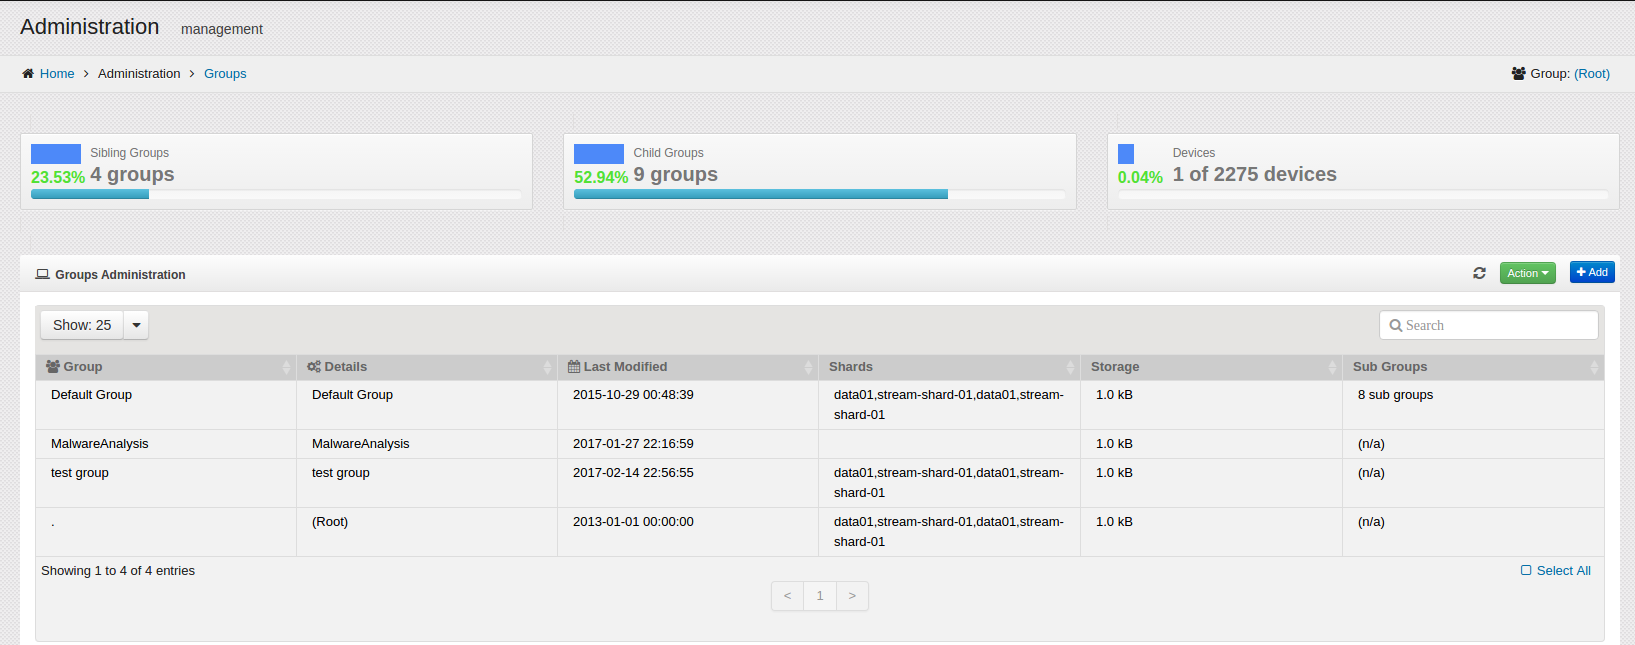
The Group Dashboard opens.

Notice at the top of this Dashboard there are three areas that provide information about the Group:
Sibling Groups - shows the number of peer Groups contained beneath the Group selected, as well as the Group selected, and the percentage of groups that are represented.
Child Groups - shows the number of subgroups associated with the selected Group, and the percentage of subgroups these represent.
Devices - shows the number of devices from these Groups that are reporting to HAWK, and the percentage of devices in this group which are reporting.

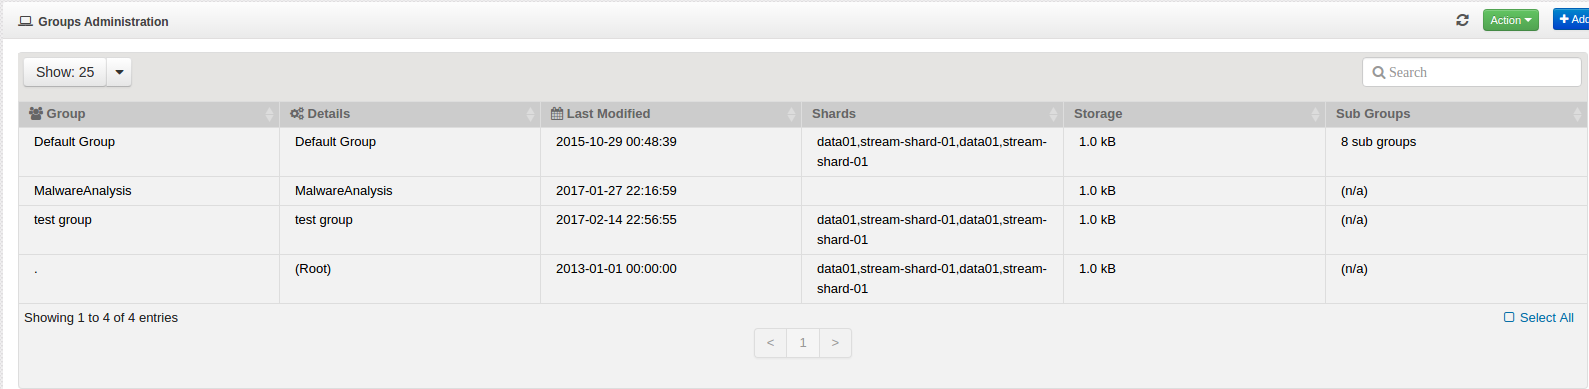
- The Groups Administration widget - shows the following information:
Group Name
Details about the Group.
Date the Group was last modified.
Name of the Shard(s) this Group is assigned.
Storage space usedpi for this Group.
Number of Subgroups (Child Groups) which belong to this Group.
3.1.2. Selecting a Different Group
When an analyst is working with different customers/groups, they can select a different group by following these steps:
On the navigation panel, click on

The Group Dashboard opens.
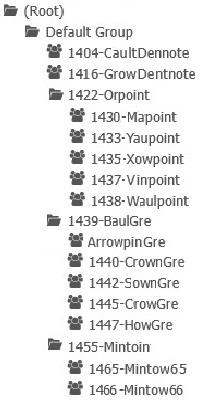
On the top right side of the Group Administration window, click on the link to the Group shown. In this example, the Group is ?(Root)?.
The “Select Group” window opens.
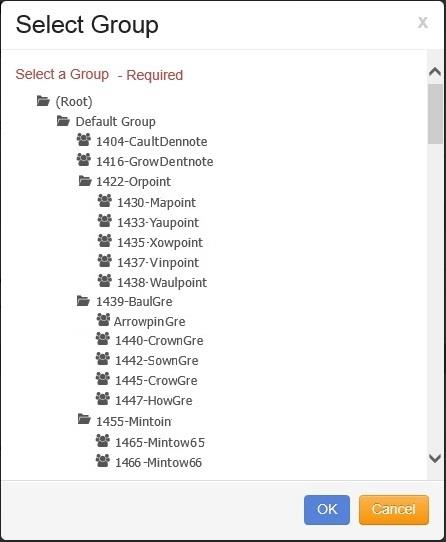
Click on the desired Group.
Click on the button and the selected Group is changed on the Group Administration window. The Widgets displayed reflect the data in the selected Group.
3.2. Managing Groups
There are a variety of activities that can be performed for each group. New Groups can be created, moved, imported, exported, or deleted. This section shows the activities that can be performed on each Group.
3.2.1. Creating Groups
New Groups can be created at any time by performing these steps:
On the navigation panel, click on
The Group Dashboard opens.
Click on the button.
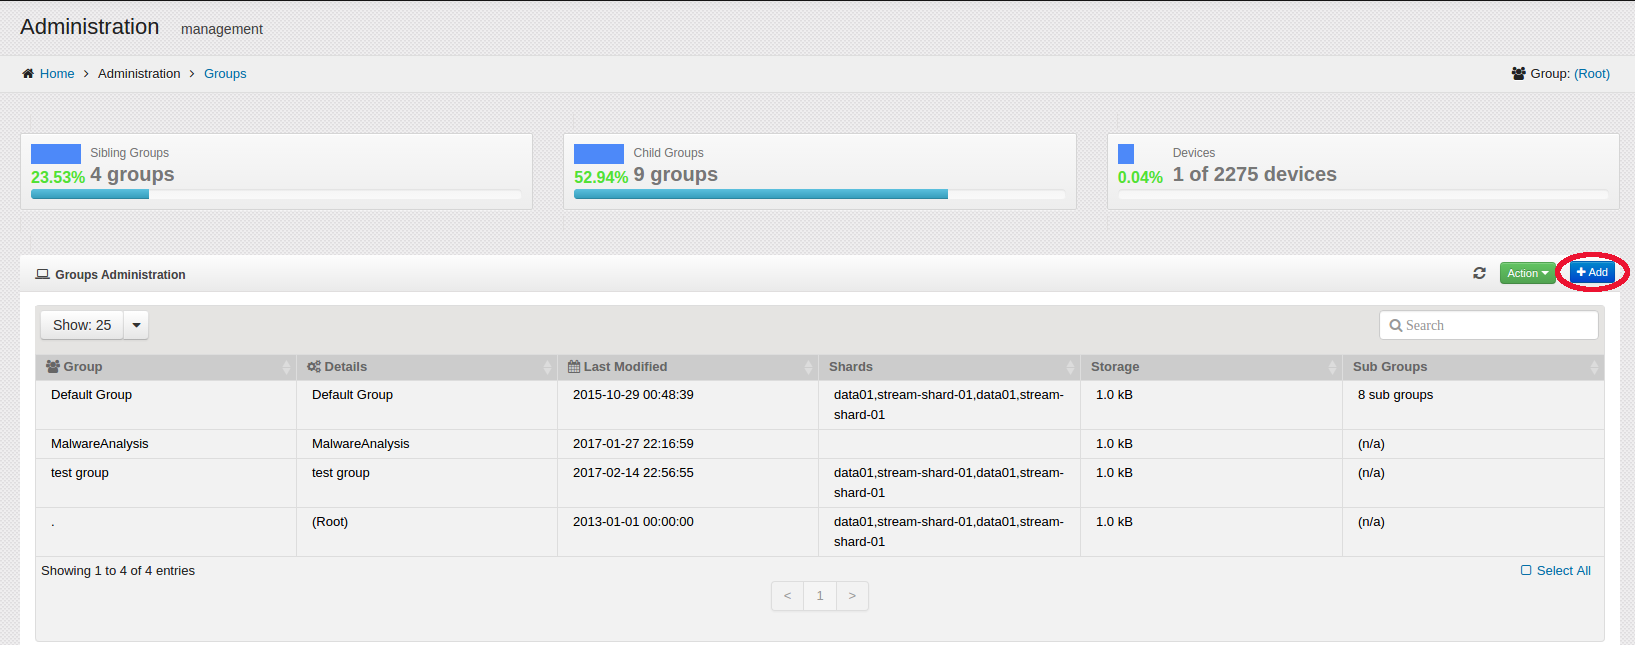
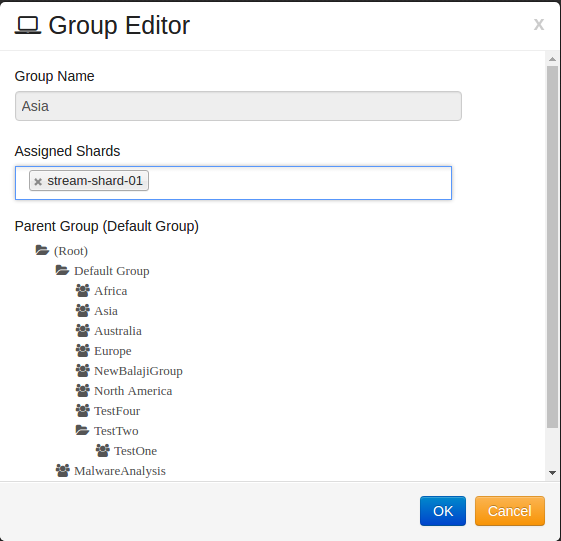
The “Group Editor” window opens, as shown:
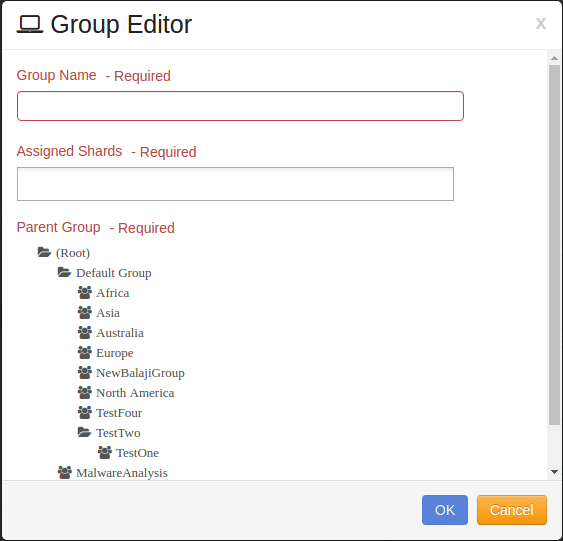
Enter the name of the Group( This is a required field).
Warning
Group name can’t contain any special characters (i.e. ‘”&^!<> )
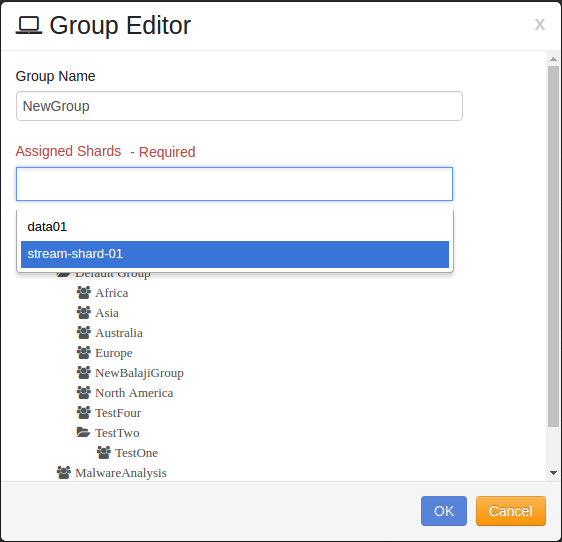
Assign the group to a VStream Shard from the list.
Click on the Parent Group to which the new Group will belong.
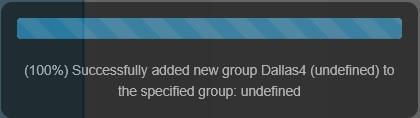
Click on the button.
The notification dialog displays to indicate that the new Group was successfully added.
3.2.2. Updating Groups
If an aspect of the group needs to change, the following steps provide the process to change the Group.
Note
Group names can’t be modified. If a group name needs to be changed please create the new group first, Move the resources to the new group then delete the old group.
On the navigation panel, click on
The Group Dashboard opens.
Double-click on the Group to change.
The “Group Editor” window opens:
If the Group shard is to be changed, select the new shard from the list.
If the Group is to be assigned to a different Parent, click on the new Parent Group.
When all changes are completed, click on the button to save the changes. To cancel the changes, click on the button.
3.2.3. Moving Groups
If a Group needs to be moved to another Group, follow these steps:
On the navigation panel, click on

The Group Dashboard opens.
Navigate to the parent group using steps in 3.1.2 Selecting a different Group.
Select the group in the table, Then click on the button.
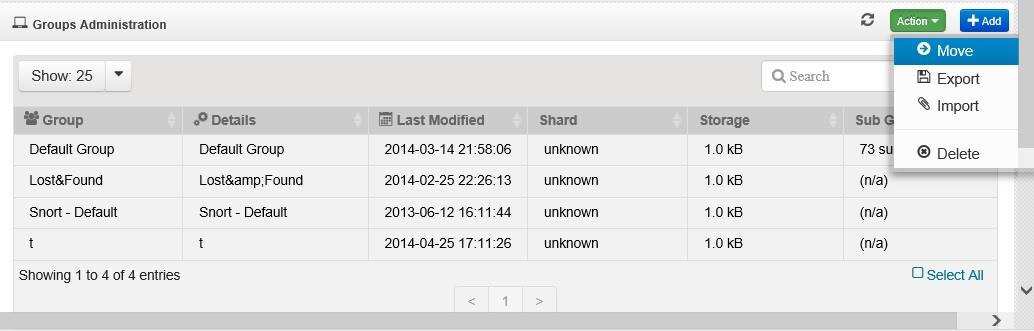
The “Move Group” window opens:
Click on the new Parent Group where the selected Group is to be moved.
Click on the button.
3.2.4. Exporting Groups
If the data in a Group needs to be exported to a spreadsheet or flat file, follow these steps:
On the navigation panel, click on

The Group Dashboard opens.
Select one or more Groups to export. Selecting no Groups, exports all of the Groups.
Click on the button.
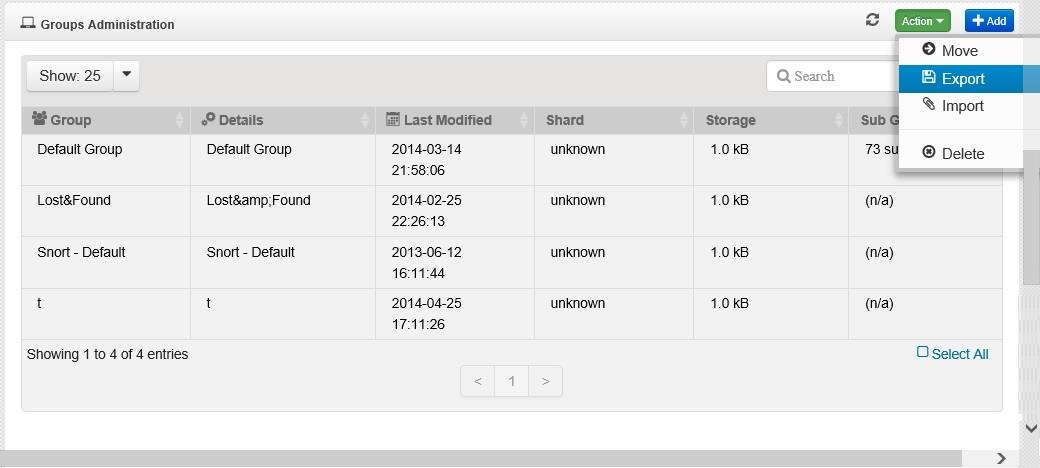
The window opens to select the export destination.
The system exports the data to the selected destination.
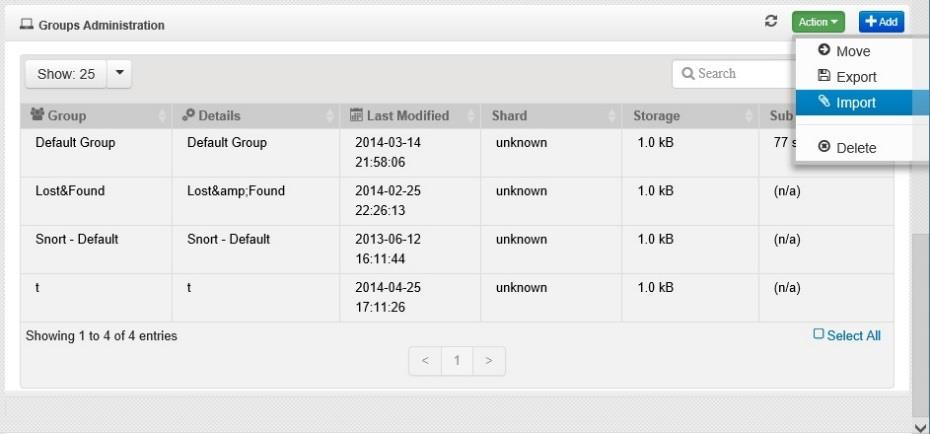
3.2.5. Importing Groups
If the data in a Group needs to be imported from a spreadsheet or flat file, follow these steps:
On the navigation panel, click on

The Group Dashboard opens.
Click on the button.
The “Choose File to Open” window opens:
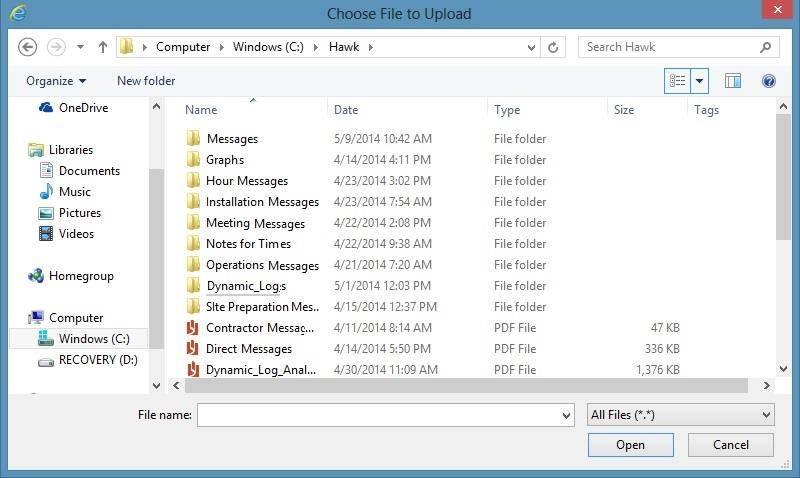
Select the file to Import.
Click on the “Open” Button, and the file is imported.
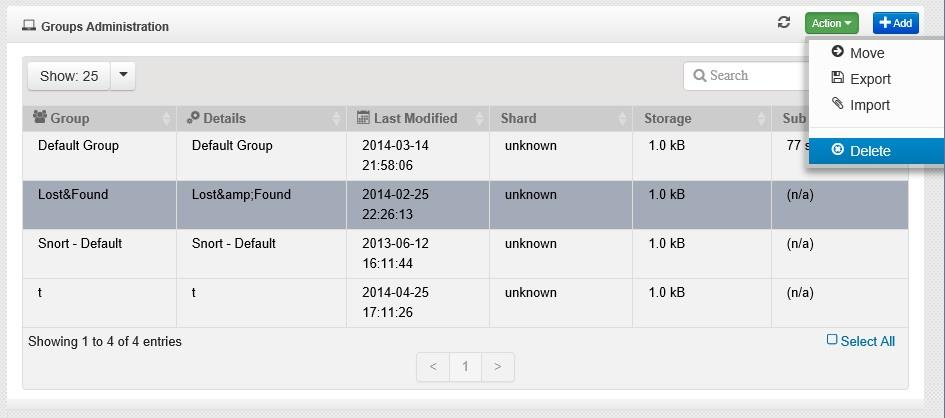
3.2.6. Deleting Groups
If the Group needs to be deleted, follow these steps:
Note
Deleting a group does NOT delete the data associated to the group. The data will remain in the system under the old group name. Any resources or users associated with the group will automatically be moved to the parent group of the item being deleted. However, it is recommended that resources and users are first moved before deleting the group.
On the navigation panel, click on

The Group Dashboard opens.
Select one or more Groups to be deleted.
Click on the button.
A confirmation dialog box opens to verify that the selected item is to be deleted.
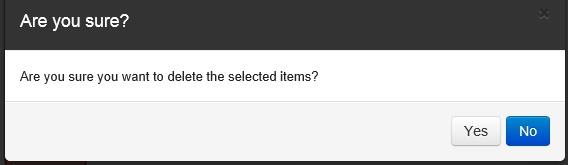
Click on the “Yes” button to delete the selected Group.
Click on the “No” button to cancel the delete Group request.