6. Understanding Threat Intelligence
Threat Intelligence feeds are used by HAWK’s Analytics to determine if an external resource is an known bad actor.
6.1. Working with Threat Intelligence
There are a variety of activities that can be accomplished and worked with on the Threat Intelligence Feeds, such as creating new Feeds, exporting, importing, moving, and deleting the feeds.
6.1.1. Viewing the Threat Intelligence Dashboard
In order to view the Dashboard for the Threat Intelligence, follow these steps:
To access the Scores, Click on .

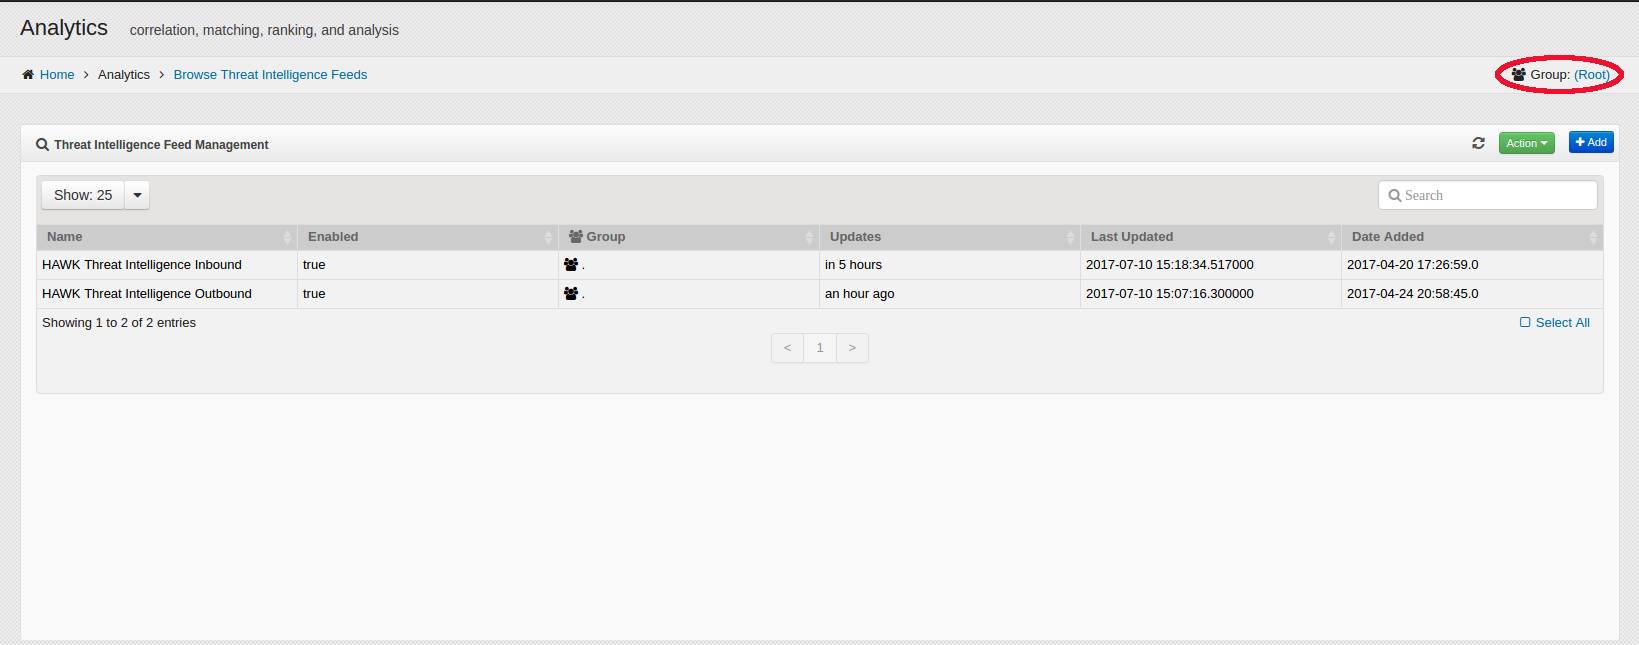
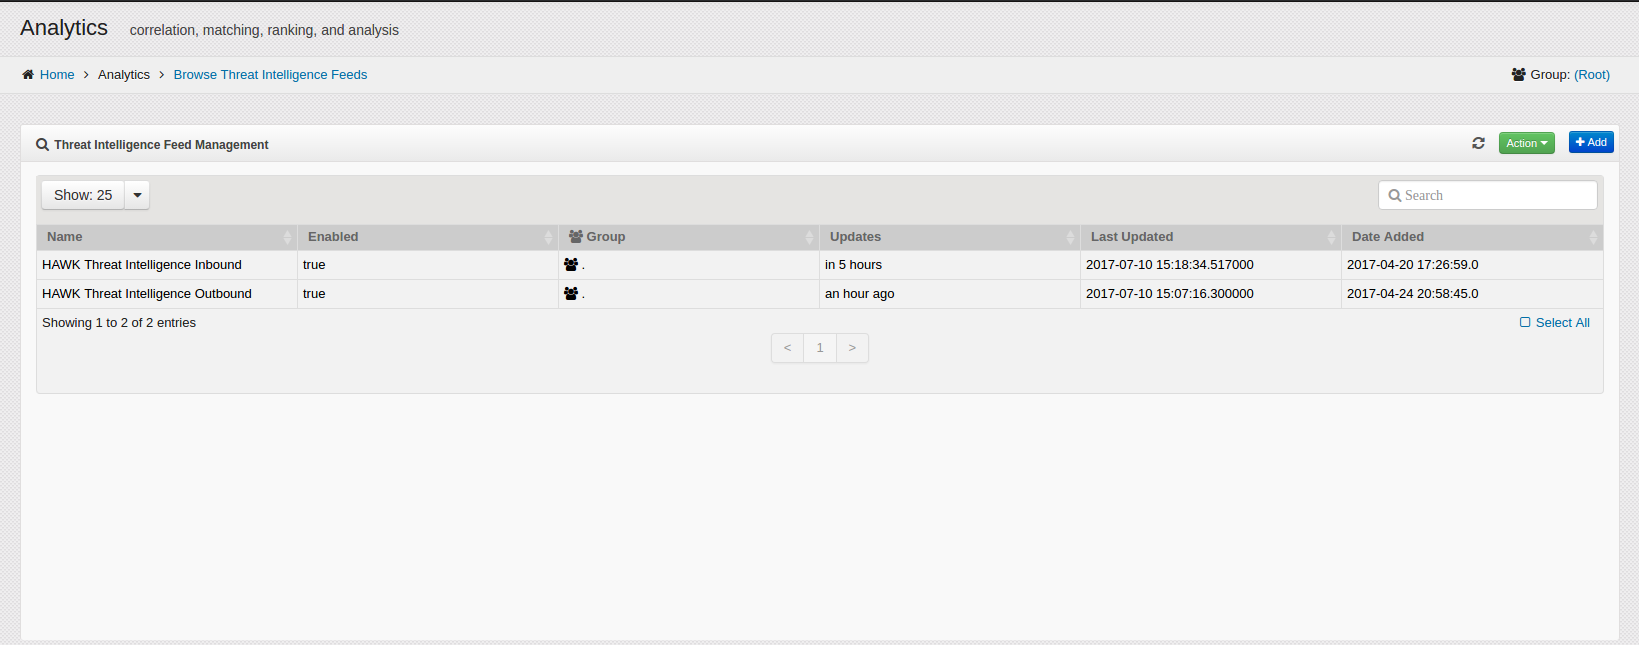
The Threat Intelligence Feed section shows the following information:
Name - Name for Threat Intelligence feed.
Enabled - If the feed is enabled or not.
Group - Group name the feed belongs to.
Updates - Next planned time to update the feed.
Last Updated - Last time feed was updated.
Date Added - Date feed was added to the system.
6.1.2. Change the Group on the Threat Intelligence Dashboard
When an analyst is working with the Scores for different Groups, they can select a different Group by following these steps:
To access the Threat Intelligence Dashboard, Click on .
On the top right side of the Threat Intelligence Management window, Click on the Group link. (In this example, the Group is (Root).)
The “Select Group” window opens.
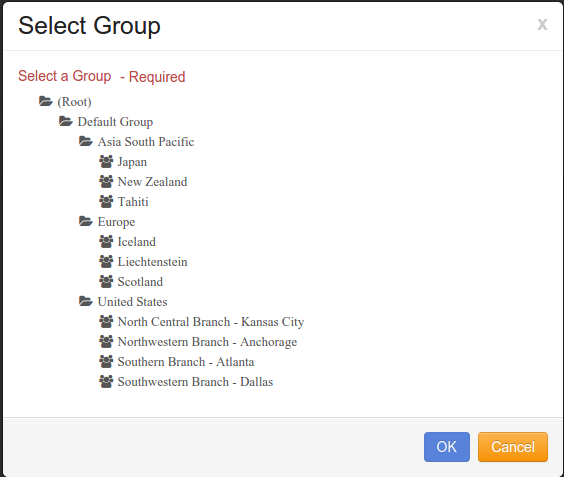
Click on the desired group.
Click on the button and the selected Group is changed on the Threat Intelligence Management window. The information displayed reflects the data in the selected Group.
6.2. Managing Threat Intelligence
There are a variety of activities that can be performed on Threat Intelligence, including defining new Feeds, exporting and importing data into and out of the Dashboard, and deleting the Feeds. This section provides the steps to perform each of these functions.
6.2.1. Creating New Threat Intelligence Feeds
If new Feeds are needed, perform the following steps:
To access the Threat Intelligence Dashboard, Click on .

Click on the button.
The “Threat Intel Entry” window opens as shown:
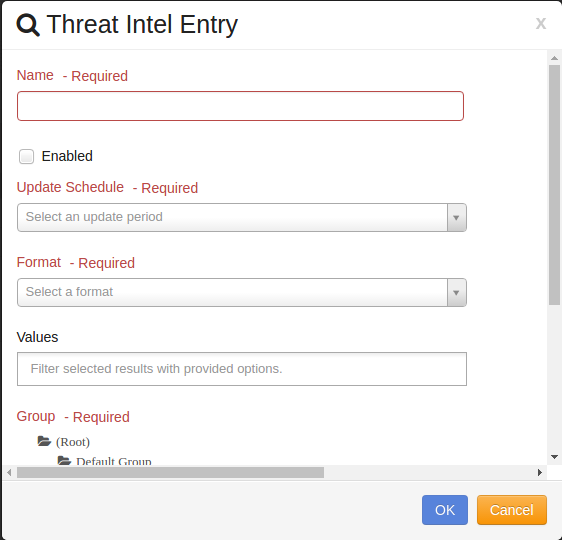
Enter the name of the new Feed being created in the Name field.
To activate the Feed to be used, check the box next to Enabled
Choose an Update Schedule.
Choose the format for the Feed, Either CSV or Address per line.
In the Values field enter the URL the feed is located at.
Select the Group for the new Feed.
When all the values are entered, click on the button to add the new Feed. To cancel adding the new Feed, Click on the button.
Note
It may take up to 30 minutes for the initial feed to be downloaded and processed.
6.2.2. Updating New Threat Intelligence Feeds
The Feeds can be updated at any time by following these steps:
To access the Threat Intelligence Dashboard, Click on .
Double click on any Threat Intelligence Feed.
The “Threat Intel Entry” window opens as shown:
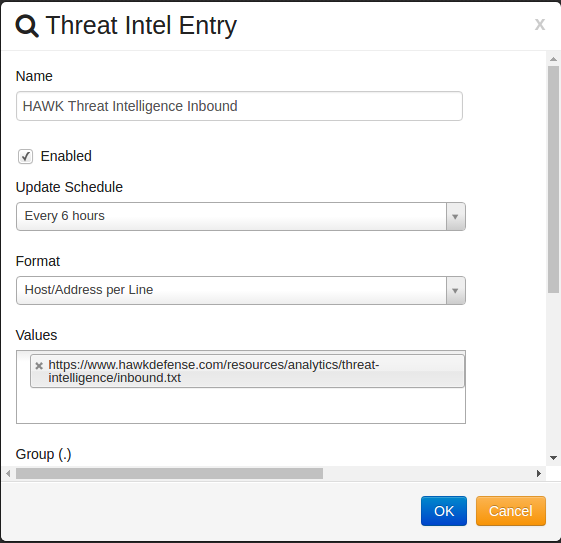
Make any necessary changes to Enabled, Update Schedule, Format, Values, or Group.
After updating the values, click on the button to update the Feed. To cancel adding the new Feed, Click on the button.
6.2.3. Moving a Feeds to Another Group
The Threat Intelligence Feeds can be moved to another Group at any time by following these steps:
To access the Scores Dashboard, Click on .

Click on the Feed or Feeds to move.
Click on .
The “Select Group” window will open.

Select the group you want to move your Feed(s) to.
Click button to save your changes.
6.2.4. Exporting Feeds
The Feeds can be exported at any time by following these steps:
To access the Scores Dashboard, Click on .

Select the score or scores you want to export.
Click on .
The notification dialog opens to indicate that the selected Score(s) is being exported.
6.2.5. Importing Feeds
The Threat Intelligence Feeds can be imported at any time by following these steps.
To access the Scores Dashboard, Click on .

Navigate to the desired group to which you want the feeds to be imported into.
Click on .
The “Choose File to Upload” window opens.
Click on the desired file to import.
Click on the “Open” button.
The selected file is imported into the Threat Intelligence Manager.
6.2.6. Deleting a Feeds
If a Scores is no longer needed, it can be deleted at any time by following these steps:
To access the Scores Dashboard, Click on .

Select the feed or feeds you want to delete.
Click on .
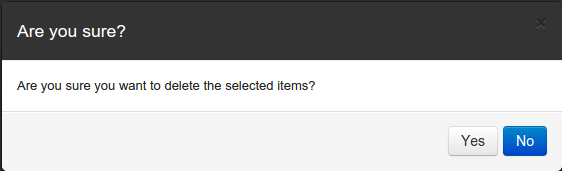
The delete confirmation dialog opens to confirm that the correct Feed or Feeds to be deleted are selected. Click on ‘Yes’ to confirm. To cancel the delete, click on the ‘No’ button.